Stihl chainsaw chain oiler not working? Stop cutting and check the oil level, guide-bar oil path, powerhead outlet, bar alignment, and any model-specific oiler adjustment before assuming the pump has failed.
A dry chain can overheat and rapidly wear the chain and guide bar, so restore visible oil flow before returning the saw to work.
Stihl chainsaw chain oiler not working? Fill the reservoir with suitable bar-and-chain oil, clean the guide-bar groove and oil inlet hole, clear the saw’s oil outlet, reinstall the bar correctly, and test for an oil trace over a light surface. If oil still does not flow, inspect the tank vent, pickup system, worm drive, or pump.
Fixing a Stihl Chainsaw Oiler That’s Not Working
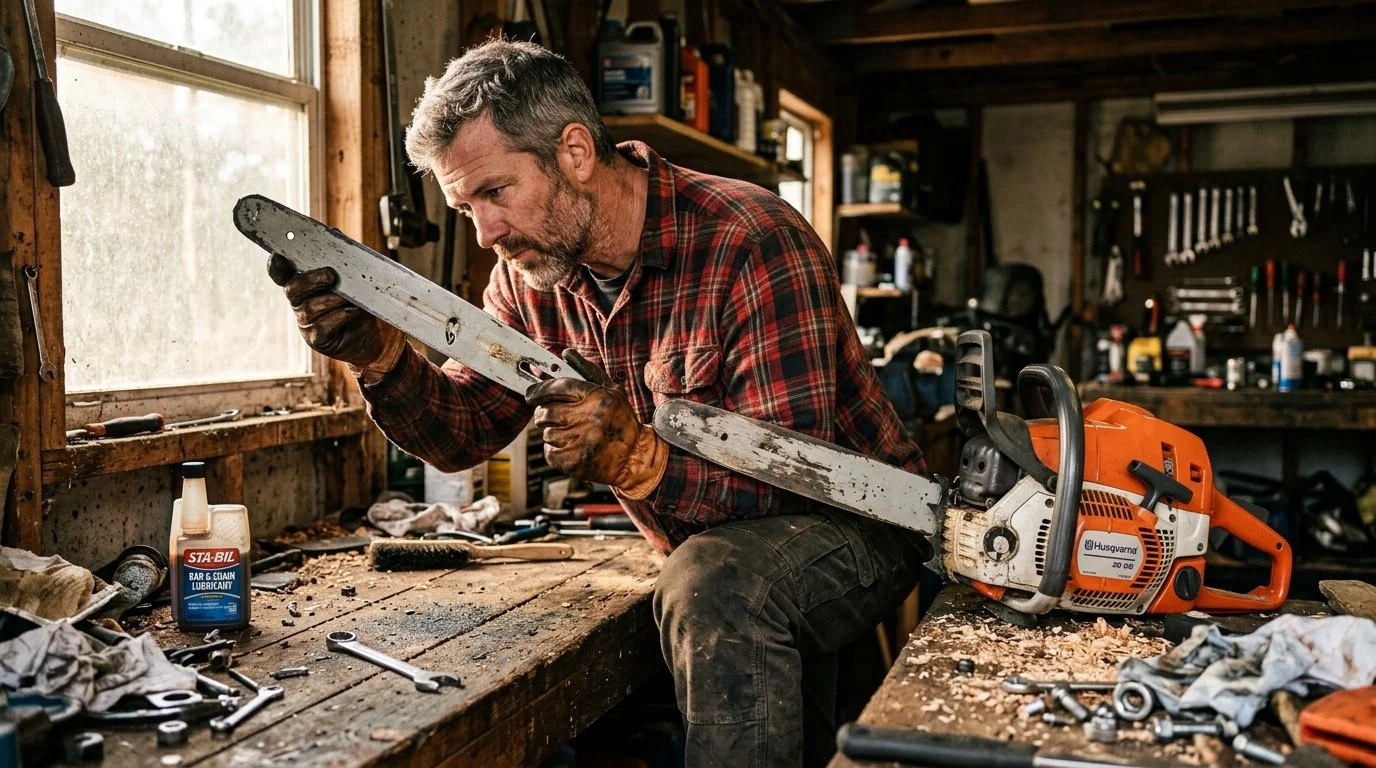
Stihl chainsaw chain oiler not working? The most likely causes are low or unsuitable bar oil, a blocked guide-bar oil path, incorrect bar alignment, a restricted tank vent, or a fault in the pickup hose, drive, or oil pump.
Stop cutting until the chain receives oil, then work through these checks in order.
1. Check the Oil Supply
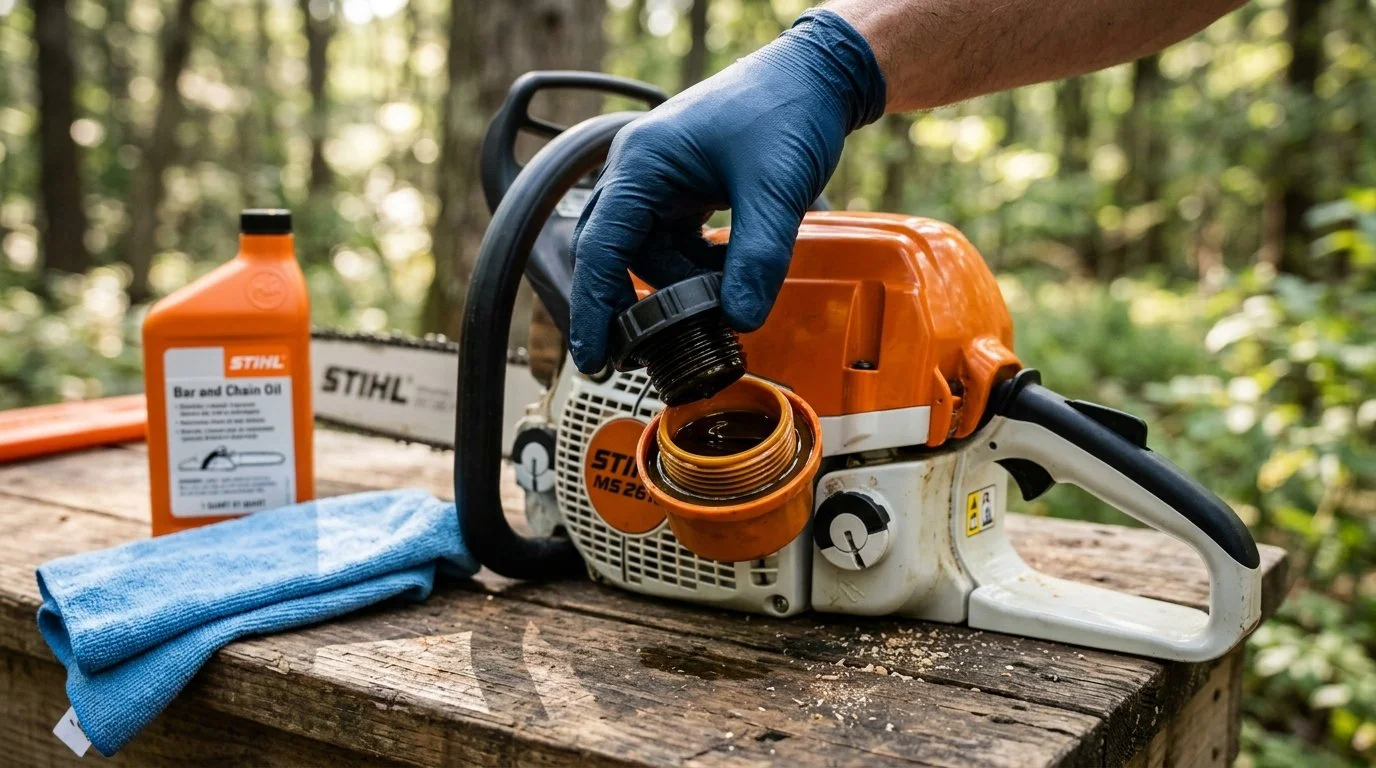
- Oil level: Switch off the saw, let it cool, and refill the reservoir with suitable bar-and-chain lubricant.
- Oil type: Use purpose-formulated bar oil with a viscosity suitable for the operating temperature.
- Oil condition: Replace contaminated oil because dirt or thick residue can restrict the pickup and narrow passages.
2. Inspect the Guide-Bar Oil Passages
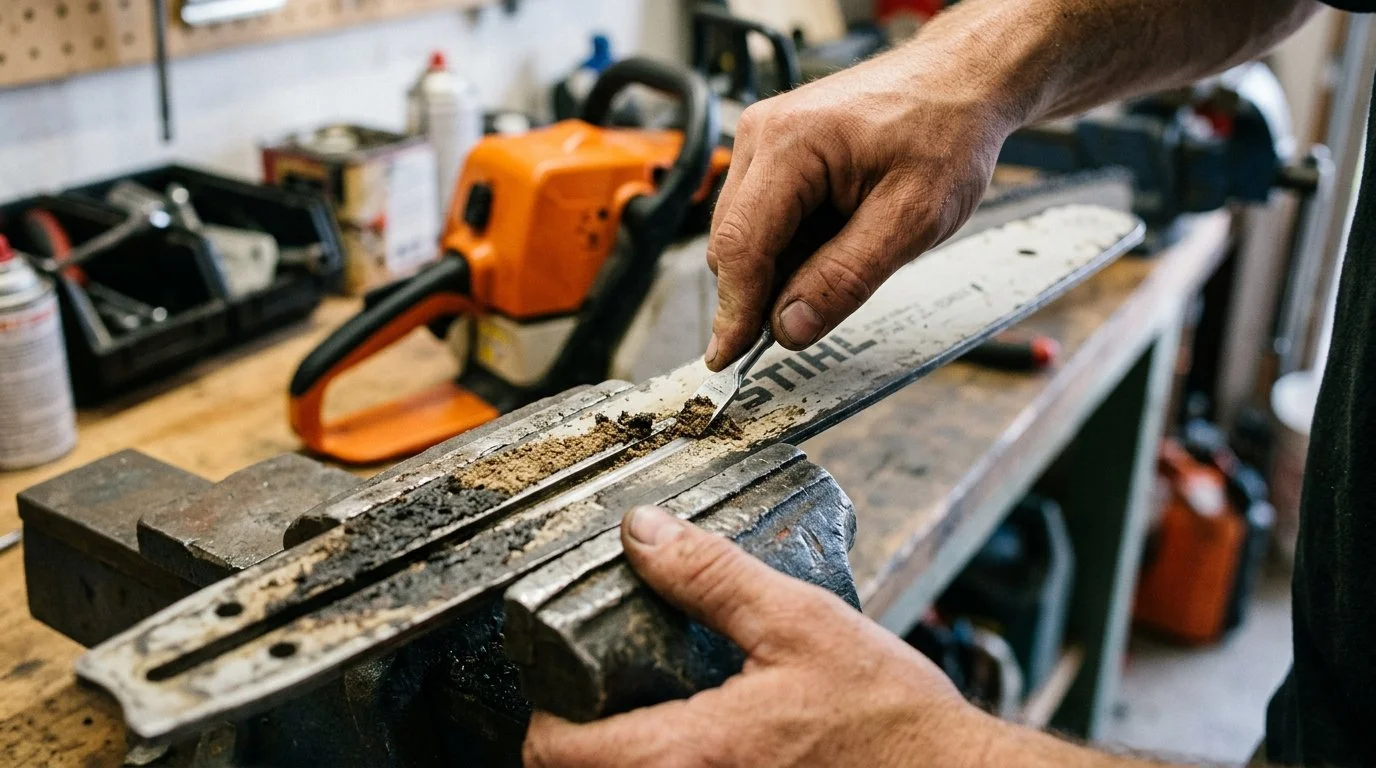
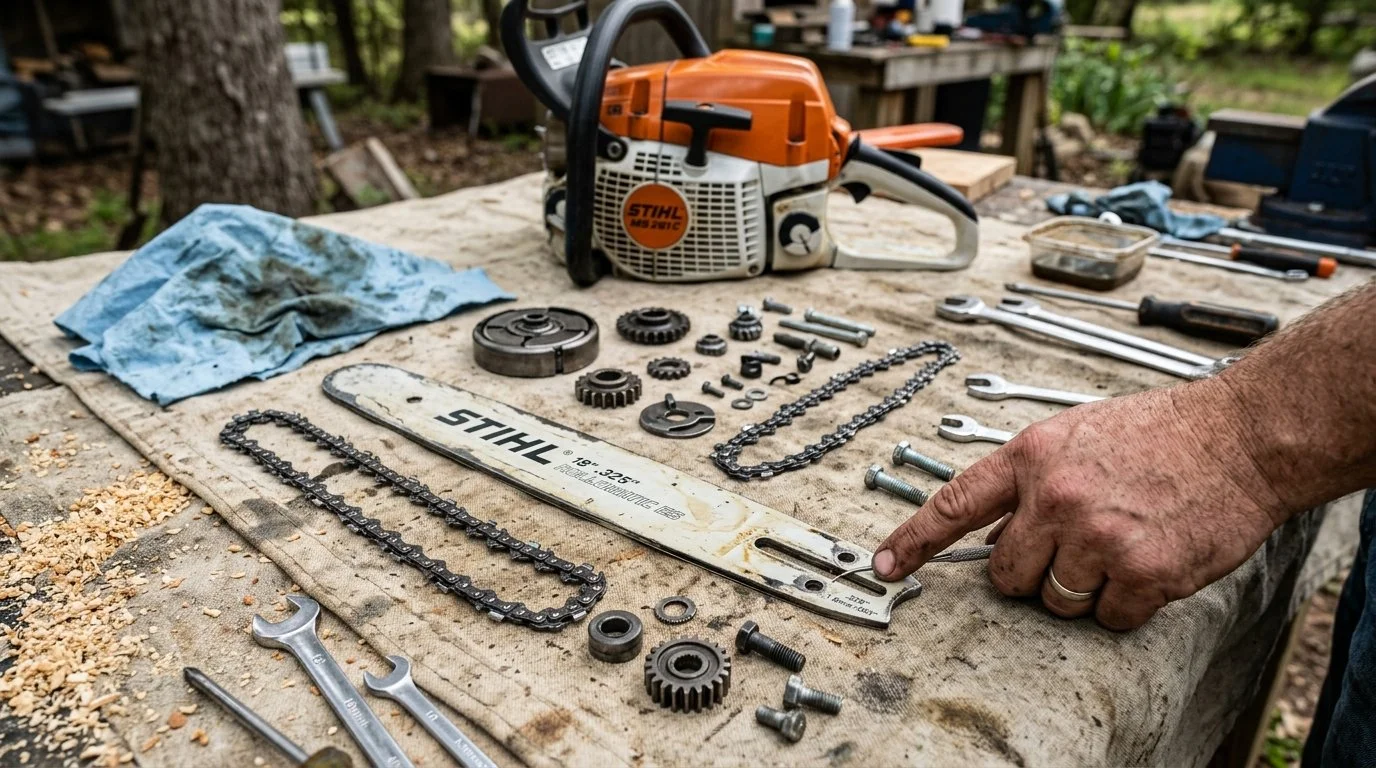
- Bar inlet hole: Safely remove the bar and chain, then clear the small oil hole near the bar’s mounting slot.
- Bar groove: Clean packed sawdust and hardened oil from the full guide-bar groove with a suitable bar-groove tool.
- Powerhead outlet: Brush debris from the saw’s oil outlet and mounting surface without enlarging or damaging the passage.
- Bar alignment: Refit the correct guide bar so its inlet hole aligns with the outlet on the powerhead.
3. Test the Oiler Safely
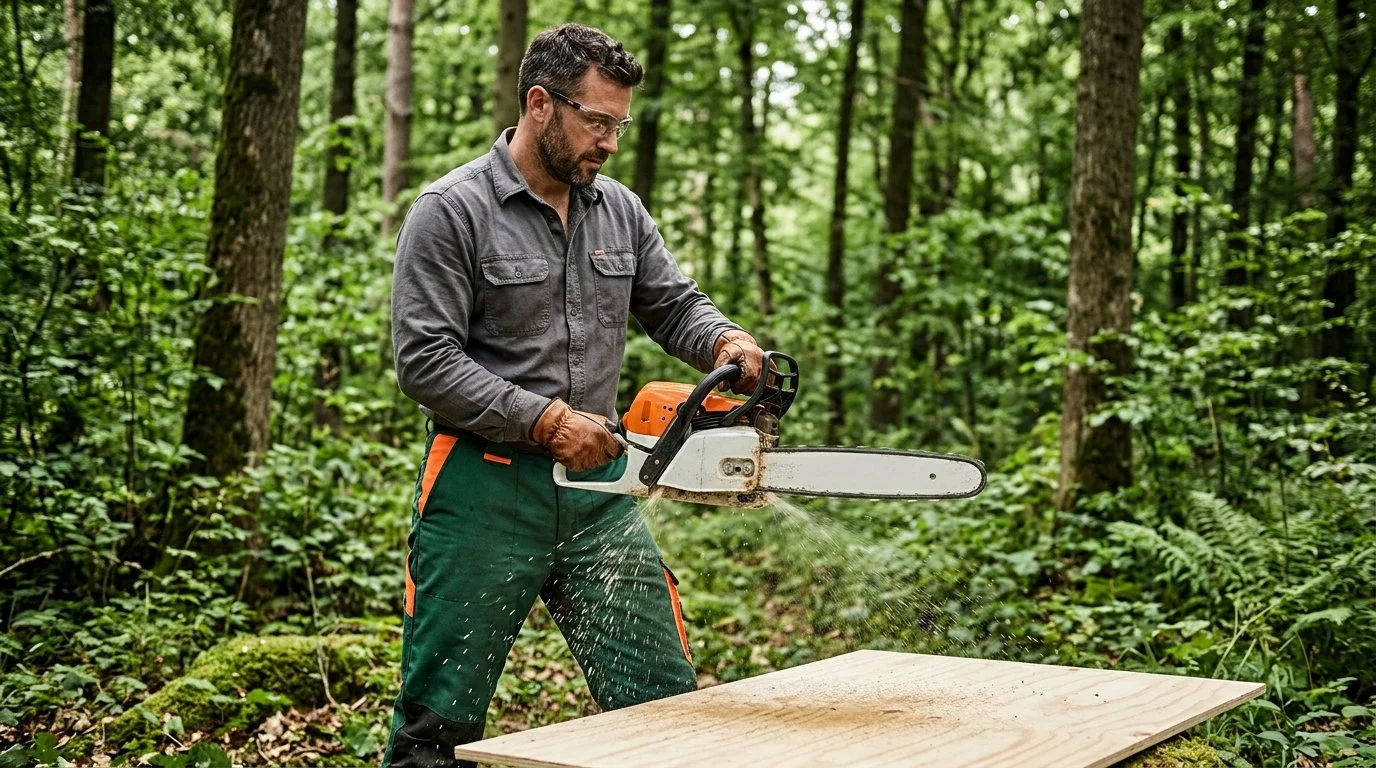
- Oil-trace test: Hold the running saw over a light-colored surface without touching it and briefly increase chain speed as directed by the manual.
- Working result: A functioning oiler should throw a visible trace of oil from the bar tip.
- No oil trace: Stop the saw and do not continue cutting until oil flow is restored.
4. Check the Adjustment, Tank, and Pump System
- Flow adjustment: If your exact model has an adjustable oiler, use only the direction and range specified in its instruction manual.
- Tank vent: Oil flow that weakens after several minutes can indicate a restricted vent that prevents air from replacing oil leaving the tank.
- Internal delivery: A clogged pickup screen or a split, hardened, or disconnected oil hose can prevent oil from reaching the pump.
- Drive and pump: If clean external passages do not restore flow, a worn worm drive or faulty pump may require model-specific service.
5. Prevent the Problem From Returning
- After each use: Clean the bar mount, oil inlet hole, guide-bar groove, and surrounding sawdust.
- Before cutting: Check the oil level, chain tension, and guide-bar condition.
- During operation: Stop immediately if the chain looks dry, smokes, overheats, or produces abnormal friction.
Tip: A dry chain can overheat and rapidly wear the chain and guide bar, so confirm visible oil flow before returning the saw to work.
Safety warning: Switch off the saw and let it cool before inspection. Remove the battery from cordless models, unplug corded models, or engage the chain brake and disconnect the spark-plug boot on gasoline models before working near the bar, chain, clutch cover, or oil outlet.
How to Confirm the Chain Oiler Is Failing
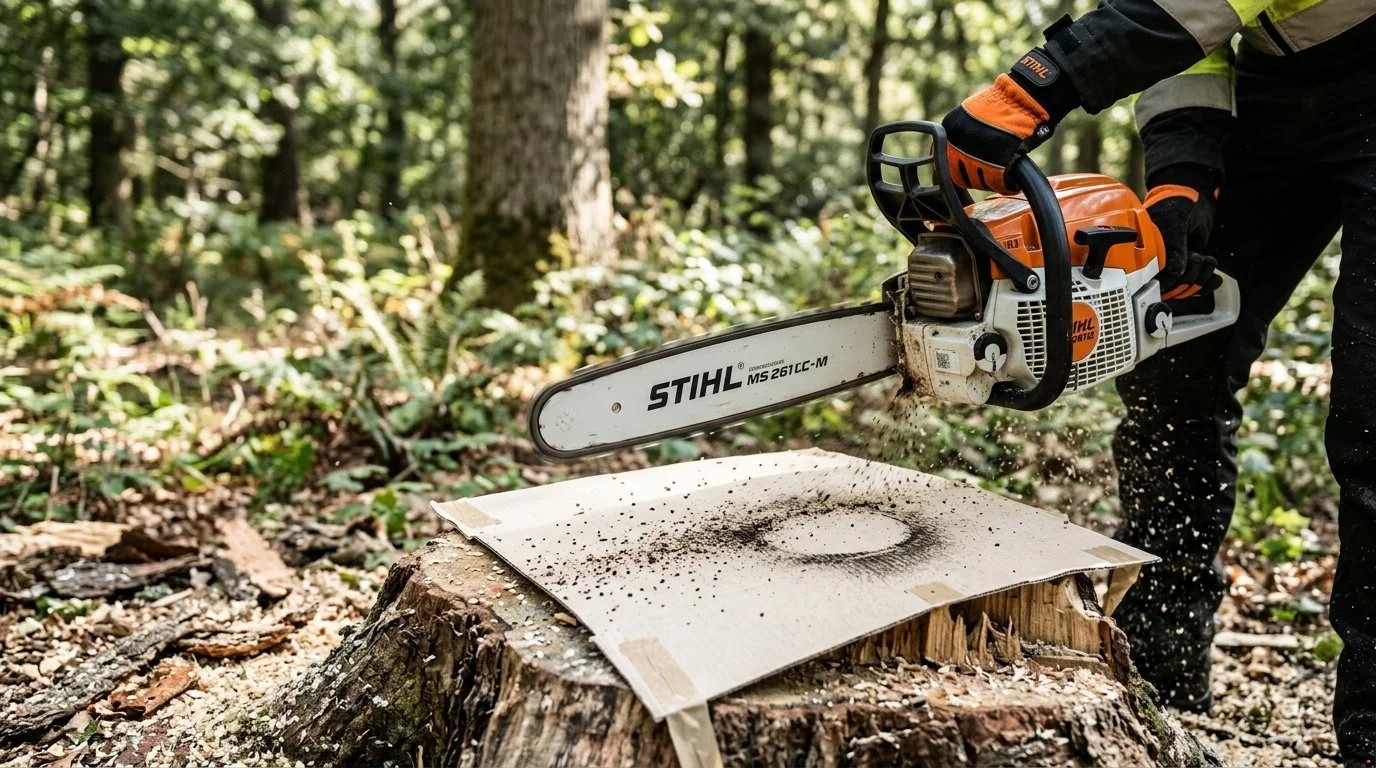
A reservoir that gets lower during use suggests oil is leaving the tank, but it does not prove that the correct amount is reaching the guide bar. Some oil consumption and a small amount of oil around the bar mount can be normal.
STIHL recommends checking lubrication by holding the running saw over a light-colored surface and briefly increasing chain speed. A working system should throw a visible trace of oil from the bar tip.
Fill the oil tank with suitable bar-and-chain lubricant and securely install the cap.
Move outdoors to a clear area and hold the bar tip over clean cardboard, pale wood, or another light surface without touching it.
Start the saw according to its manual and briefly run the chain at the manual’s recommended test speed.
Look for a narrow line or mist of oil below the bar tip.
If no oil trace appears, stop the saw instead of continuing to cut. Recheck the oil level, then clean the external oil path before repeating the test.
Important: Do not judge the oiler by running the chain against your hand, clothing, or any body part. Never touch the chain to check whether it feels oily.
Diagnose the Problem by What You Find
| Test result | Most likely area | Next action |
|---|---|---|
| No oil trace and tank stays full | Blocked outlet, pickup, vent, drive, or pump | Clean the external oil path, then arrange model-specific inspection if flow does not return |
| Oil appears at the powerhead with the bar removed but not on the chain | Bar inlet, groove, alignment, or incompatible bar | Clean and correctly refit the specified guide bar |
| Oil flow is weak only in cold weather | Lubricant viscosity or restricted passage | Use suitable bar oil for the conditions and clean the passages |
| Oil flows, but the bar smokes | Low oil quantity, tight/dull chain, damaged bar, or cutting overload | Stop and inspect the complete cutting attachment |
| Oil leaks while stored | Residual oil, pressure change, cap/seal, or tank system | Clean the saw, store it correctly, and investigate persistent heavy leakage |
1. Check the Oil Level and Lubricant
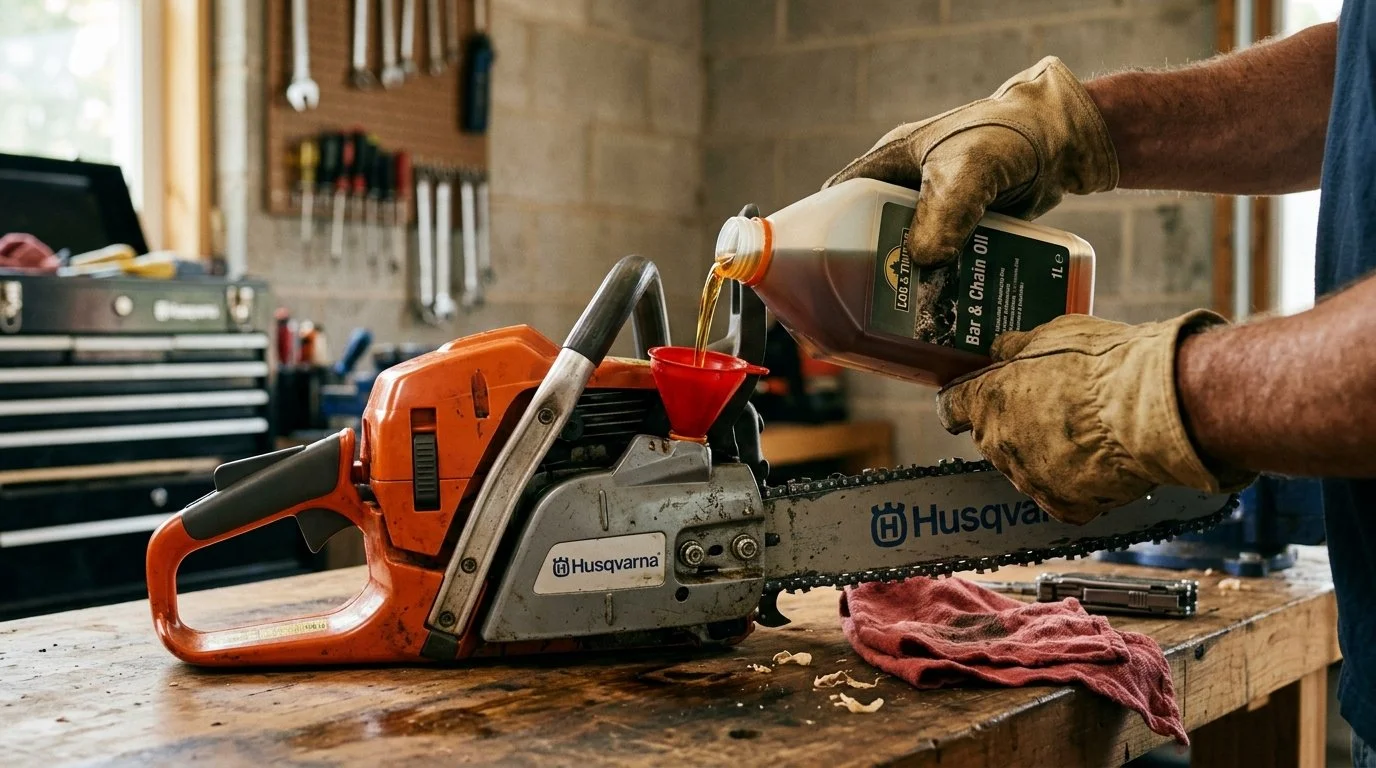
Open the reservoir only after the saw is off, stable, and cool. Refill it with purpose-formulated bar-and-chain lubricant rather than used engine oil or an improvised liquid.
Very thick oil flows more slowly when cold, while contaminated oil can obstruct narrow passages. Use a lubricant appropriate for the model and operating temperature, following the product manual and oil label.
Inspect the cap and sealing area for damage or packed debris. Clean around the opening before filling so sawdust does not enter the tank.
2. Clean the Guide-Bar Groove and Oil Inlet Hole
According to STIHL’s cleaning guidance, the oil outlet channel, guide-bar oil inlet hole, and bar groove should be kept clear. These areas collect compacted sawdust that can prevent oil from traveling around the bar.
Remove the battery, unplug the saw, or disconnect the gasoline saw as described above. Wear gloves, remove the clutch or sprocket cover, and take off the chain and guide bar according to the owner’s manual.
Clean the narrow groove around the guide bar with a suitable groove cleaner or non-damaging tool. Clear the small oil inlet hole near the bar’s mounting slot from both sides without enlarging it.
Inspect the bar rails for burrs, severe wear, pinching, or heat discoloration. A damaged bar can distribute oil poorly even after the passage is clean.
Common mistake: Cleaning only the visible saw outlet does not clear packed debris inside the guide-bar groove. Oil must pass through the bar inlet and travel around that groove to lubricate the chain.
3. Clear the Powerhead Oil Outlet
With the bar removed and the saw safely disabled, locate the oil outlet beside the bar-mounting surface. Its exact shape and position vary by Stihl model.
Brush away chips, oily sawdust, and hardened residue without forcing dirt deeper into the passage. Avoid metal picks that can damage a plastic fitting or sealing surface.
Some experienced users perform a controlled bar-off flow test, but exposed moving parts make this unsuitable as a universal instruction. Follow the model’s service procedure or let a Stihl servicing dealer isolate the outlet flow.
4. Reinstall the Correct Guide Bar and Check Alignment
The guide bar’s oil inlet must line up with the outlet on the powerhead. A bar installed incorrectly, a displaced side plate, or a bar not specified for the saw can interrupt that connection.
Confirm the bar is the correct type for the model and that its mounting and oil holes match the original configuration. Reinstall the bar, chain, cover, and tensioning components exactly as the manual directs.
Set chain tension only when the cutting attachment is cool. The chain should sit in the bar groove and move as specified in the manual without sagging or binding.
5. Check the Model-Specific Oil-Flow Adjustment
Some Stihl chainsaws have an adjustable oil pump, while others do not. Never assume an adjustment screw exists or turn an unidentified screw.
If the manual shows an oil-flow control, note its original position and use the stated direction and range. Longer bars, dry wood, or demanding cuts may require a different approved setting, but excessive flow wastes oil and can mask a leak.
If your manual does not describe an adjustment, skip this step. Search the model number printed on the saw to obtain the correct Stihl instruction manual.
6. Consider the Tank Vent, Pickup Screen, and Oil Hose
The oil tank must admit air as oil leaves. A restricted vent can create a vacuum, causing flow to weaken or stop after the saw runs for a short time.
Intermittent oiling that returns after the cap is loosened can suggest a venting problem, but opening a warm or pressurized tank requires caution. Let the saw cool and follow the cap-opening directions in the manual.
Inside the tank, a pickup screen can become restricted and a hose can split, harden, disconnect, or leak. Access differs substantially among gasoline, battery, and electric Stihl models.
Do not pull internal hoses or pry out the vent without a model-specific service procedure. A servicing dealer can pressure-test the system and replace the correct parts.
7. Inspect the Worm Drive and Oil Pump
On many gasoline chainsaws, a drive component transfers rotation to the oil pump. A worn worm gear, broken drive tang, damaged pump gear, or seized pump can stop delivery even when all passages are clean.
Reaching these parts may require removal of the clutch or other drive components, and thread direction and tool requirements vary by model. Incorrect removal can damage the saw or create an unsafe reassembly.
If external cleaning, correct oil, proper bar installation, and the approved adjustment do not restore flow, arrange a model-specific diagnosis. This is especially important when the saw is under warranty.
Pro tip: Tell the technician whether the tank level changes, whether oil reaches the powerhead outlet, and whether the failure is constant or begins after several minutes. Those observations quickly separate a bar-path problem from a supply or pump fault.
Oil Reaches the Saw Outlet but Not the Chain
If oil reaches the mounting surface but never forms a trace at the bar tip, the pump is probably moving oil. Focus on the guide bar rather than immediately replacing the pump.
Clean the guide-bar oil inlet hole and full bar groove.
Confirm the bar’s inlet aligns with the powerhead outlet.
Check that the bar is approved for the exact saw model.
Inspect the rails, nose sprocket, and mounting surfaces for damage or obstruction.
For more general system context, see our guide to diagnosing an oiler on a chainsaw that is not working. This Stihl guide remains the model-family troubleshooting page.
What If the Chain Smokes Even Though Oil Is Flowing?
Visible oil flow does not rule out a cutting-attachment problem. A chain can smoke when it is too tight, dull, installed incorrectly, pinched in a damaged bar, or forced through a cut.
Stop the saw and allow it to cool. Check chain orientation, tension, sharpness, drive-link condition, bar rails, and the nose sprocket according to the manual.
If the tensioning mechanism will not hold its setting, use our Stihl chainsaw tension-screw troubleshooting guide before operating the saw again.
DIY Checks vs. Service Work
| Usually suitable for an owner | Better for a trained technician |
|---|---|
| Refilling with suitable bar oil | Pressure- or vacuum-testing the oil system |
| Cleaning the bar groove and inlet hole | Replacing an internal oil hose or tank vent |
| Cleaning the external powerhead outlet | Removing a clutch to access the pump drive |
| Checking bar compatibility and alignment | Diagnosing or replacing the oil pump |
| Using a documented external adjustment | Repairing damaged threads, housings, or seals |
Safe Shutdown by Stihl Chainsaw Type
| Saw type | Before cleaning near the bar or outlet |
|---|---|
| Gasoline | Switch off, engage the chain brake, let the saw cool, and disconnect the spark-plug boot when the manual calls for it |
| Battery | Switch off, engage the chain brake where fitted, and remove the battery |
| Corded electric | Switch off, engage the chain brake where fitted, and unplug the power cord |
If a battery-powered model also fails to start or run, use the separate Stihl battery chainsaw troubleshooting guide. A no-start problem and a lubrication problem require different diagnostic paths.
How to Prevent Future Oiler Problems
Check the oil level before each work session and during refueling or battery changes.
Use clean, purpose-formulated bar-and-chain lubricant suitable for the conditions.
Brush debris from the bar mount, oil outlet, inlet hole, and groove after use.
Inspect the bar and chain for heat damage, abnormal wear, and correct tension.
Store the saw as the manual directs and investigate persistent heavy oil loss.
Regular cleaning prevents sawdust and tacky oil from hardening in the delivery path. It also makes a new leak or flow change easier to spot.
Frequently Asked Questions
Why is my Stihl chainsaw not oiling the chain?
The most common external causes are an empty reservoir, blocked guide-bar groove or inlet hole, clogged powerhead outlet, incorrectly aligned bar, unsuitable oil, or a low model-specific adjustment. Internal causes include the tank vent, pickup screen, hose, worm drive, and oil pump.
How do I test a Stihl chainsaw oiler?
Fill the oil tank, start the saw safely outdoors, and briefly run the chain over a light-colored surface without touching it. A working oiler should produce a visible oil trace from the bar tip.
Can I run a Stihl chainsaw when the oiler is not working?
No. Stop cutting until lubrication is restored because a dry chain and bar can overheat and wear quickly.
Why does oil come from the saw but not reach the chain?
The guide-bar inlet hole or groove may be blocked, the bar may be misaligned, or the bar may not match the model. Clean the entire bar oil path and verify compatibility before suspecting the pump.
Does every Stihl chainsaw have an adjustable oiler?
No. Oil-flow adjustment is model-dependent, so use only the control identified in the exact model’s instruction manual.
Why does my Stihl chainsaw leak bar oil in storage?
A small amount can drain from residual oil in the bar path, and temperature or air-pressure changes can push oil from the tank. Persistent pooling can indicate overfilling, a cap or seal problem, damaged tubing, or a vent fault that needs inspection.
Conclusion
When a Stihl chainsaw chain oiler is not working, begin with the oil supply and external path: clean the bar groove, bar inlet, and powerhead outlet, then verify bar alignment and any documented adjustment.
If oil still does not reach the outlet, stop using the saw and have the vent, pickup hose, worm drive, and pump checked with the correct model-specific procedure.